23 November 2020

Axis Cube

Axis Cube

The Fisher and Windmill cubes don't offer a significantly higher challenge to a person proficient in solving a standard 3x3x3. The only additional aspect is controlling the orientations of the pieces that behave like centres.

The Axis Cube, also known as the Axel Cube, is a significant step up in difficulty. It is still based in the 3x3x3 mechanism but the shape modification makes the puzzle confusing, especially when picking the puzzle up for the first time. Familiarity should be gained with the workings of the puzzle; that is knowing which pieces behave like edges, corners and centres, and understanding what corresponds to a face on a normal cube. Once this hurdle is crossed, it should be easier to solve.


The way the pieces are cut means that a equivalent to a face, as we understand it from a regular cube, is not one colour and not a side of the cube. The picture below shows a "face" rotated by 180°.


Solution

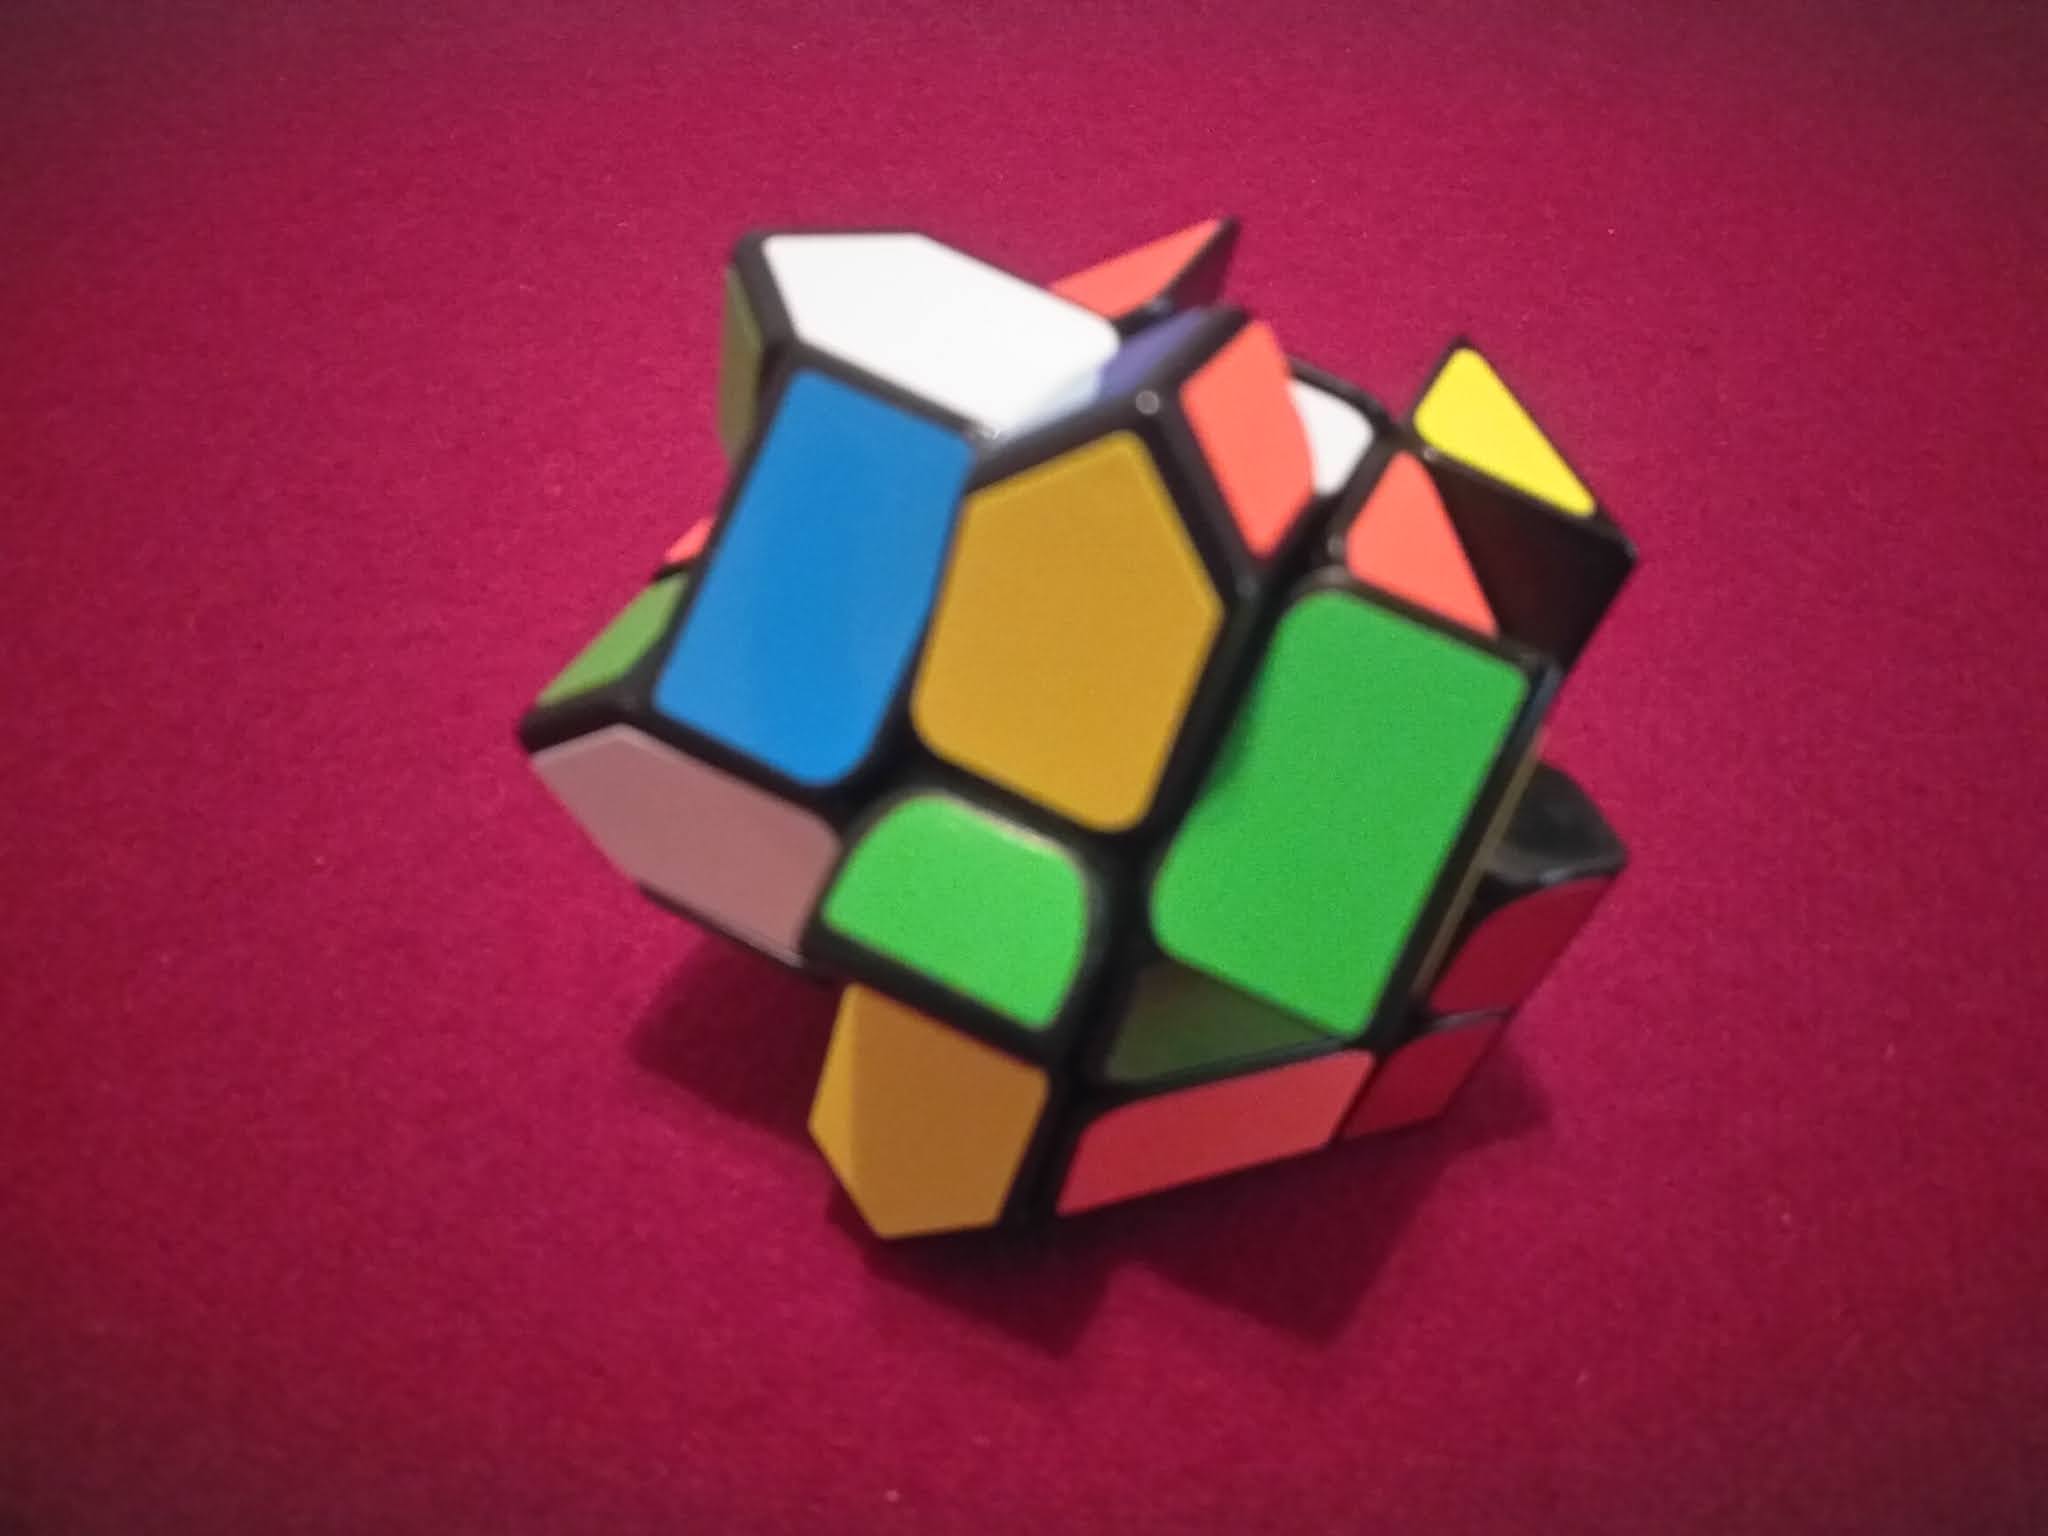
The puzzle shape shifts into a chaotic jumble when scrambled. It can be confusing when figuring out which pieces behave like corners, edges and centres, and how they go together during a solve.


Step 1: Cross

Intuitive step but care needs to be taken to ensure that the centres on the E-layer are orientated correctly as the edges of the cross are put into place.


Step 2: First Two Layers (F2L)

Normal F2L and block building techniques work here as one might expect. Recognition will be an issue at first until familiarity is built up with the shaped pieces.


Step 3: Edges Last Layer

At this point, I see which is easier to solve first, edges or corners. If there is no advantage either way I go for corners. During the solve when I was photographing for it this post, I decided to go with edges, because that was easier.

Step 4: Solve the Corners

Next solve the corners.


Step 5: Orientate Last Layer Centre

The way I solve this puzzle, sometimes leaves the final centre rotated by 180°. So there might be one final step to finish off the solve.


16 November 2020

Windmill Cube

Windmill Cube

After the Fisher cube, the next shape modification I got was the Windmill Cube, also known as the Fenghuolin cube. I call it the Windmill Cube as I am don't know the correct pronunciation of "Fenghuolin".

It is called a Windmill cube because it is possible to create this windmill pattern...

Windmill pattern on windmill cube

I think this is a better puzzle than the Fisher Cube because the edges on the equatorial layer must be orientated correctly during the solve. This does eliminate the possibility of an odd-parity case when orientating the edges on the final layer.


Solution

Solving this puzzle is not difficult for anyone who can solve a standard 3x3x3. The only additional complication, except for solving some edges by shape rather than colour, is the orientation of the centres on the equatorial layer.

The scrambled puzzle shape shifts.


Step 1: Cross

Solve the white edges. Intuitive


Step 2: First Two Layers (F2L)

Normal F2L and block building techniques work here. The only difference is that the edges are solved by shape rather than by colour. It is not difficult once you are used to it.


Step 3: Orientate Yellow Edges

I orientate the final layer edges at this point, to make the puzzle easier to handle for the rest of the solve.


Step 4: Solve Final Layer Corners

Care needs to be taken to avoid rotating the centres on the equatorial layer.


Step 5: Permute Yellow Edges

Again, care needs to be taken to avoid rotating the centres on the equatorial layer.


And there it is solved.


07 November 2020

Fisher Cube

Fisher Cube

The Fisher cube was created by Tony Fisher in the 1980s. If this was not the first shape modification of the cube, it was one of the first. It is not a bad first puzzle to try, if you want to play with something a little different from a standard 3x3x3.

On the U- and D-faces the corners behave like edges and vice versa. On the E-layer, the edges behave like centres and vice versa


Solving the Fisher Cube

Solving a Fisher Cube is not a whole lot different from solving a normal cube. After getting used to the configuration the only additional complication is ensuring the pieces that behave like centres are orientated correctly.

When scrambled, the puzzle shape shifts into a chaotic shape.

Step 1: White Cross

Intuitive. The trick here is to align the pieces that behave like centres on the E-layer.


Step 2: First Two Layers (F2L)

Normal F2L techniques work here. If anything it is slightly easier than on a standard 3x3x3 because the pieces that behave like edges on the E-layer have no orientation.


Step 3: Orientate Yellow Edges

I this stage I orientate the final layer-edges. I leave permuting them until later. I find the puzzle easier to handle with the edges facing the right way.


 There is the additional complication of a possible odd case parity where there could be one or three of the edges rotated. This is very easy to fix: just orientate one of them with an E-layer edge.

Step 4: Solve Corners 

I then do things the old fashioned way of permuting the corners first, before rotating them. I don't know which advanced algorithms affect the centres on the E-layer and which don't. I should much rather keep things simple and use basic algorithms that I know are super cube safe.


Step 5: Permute Edges

The trick here is do this without rotating the pieces that behave like edges on the E-layer. I do it using Sune algorithms.