23 January 2021

Hellraiser Cube

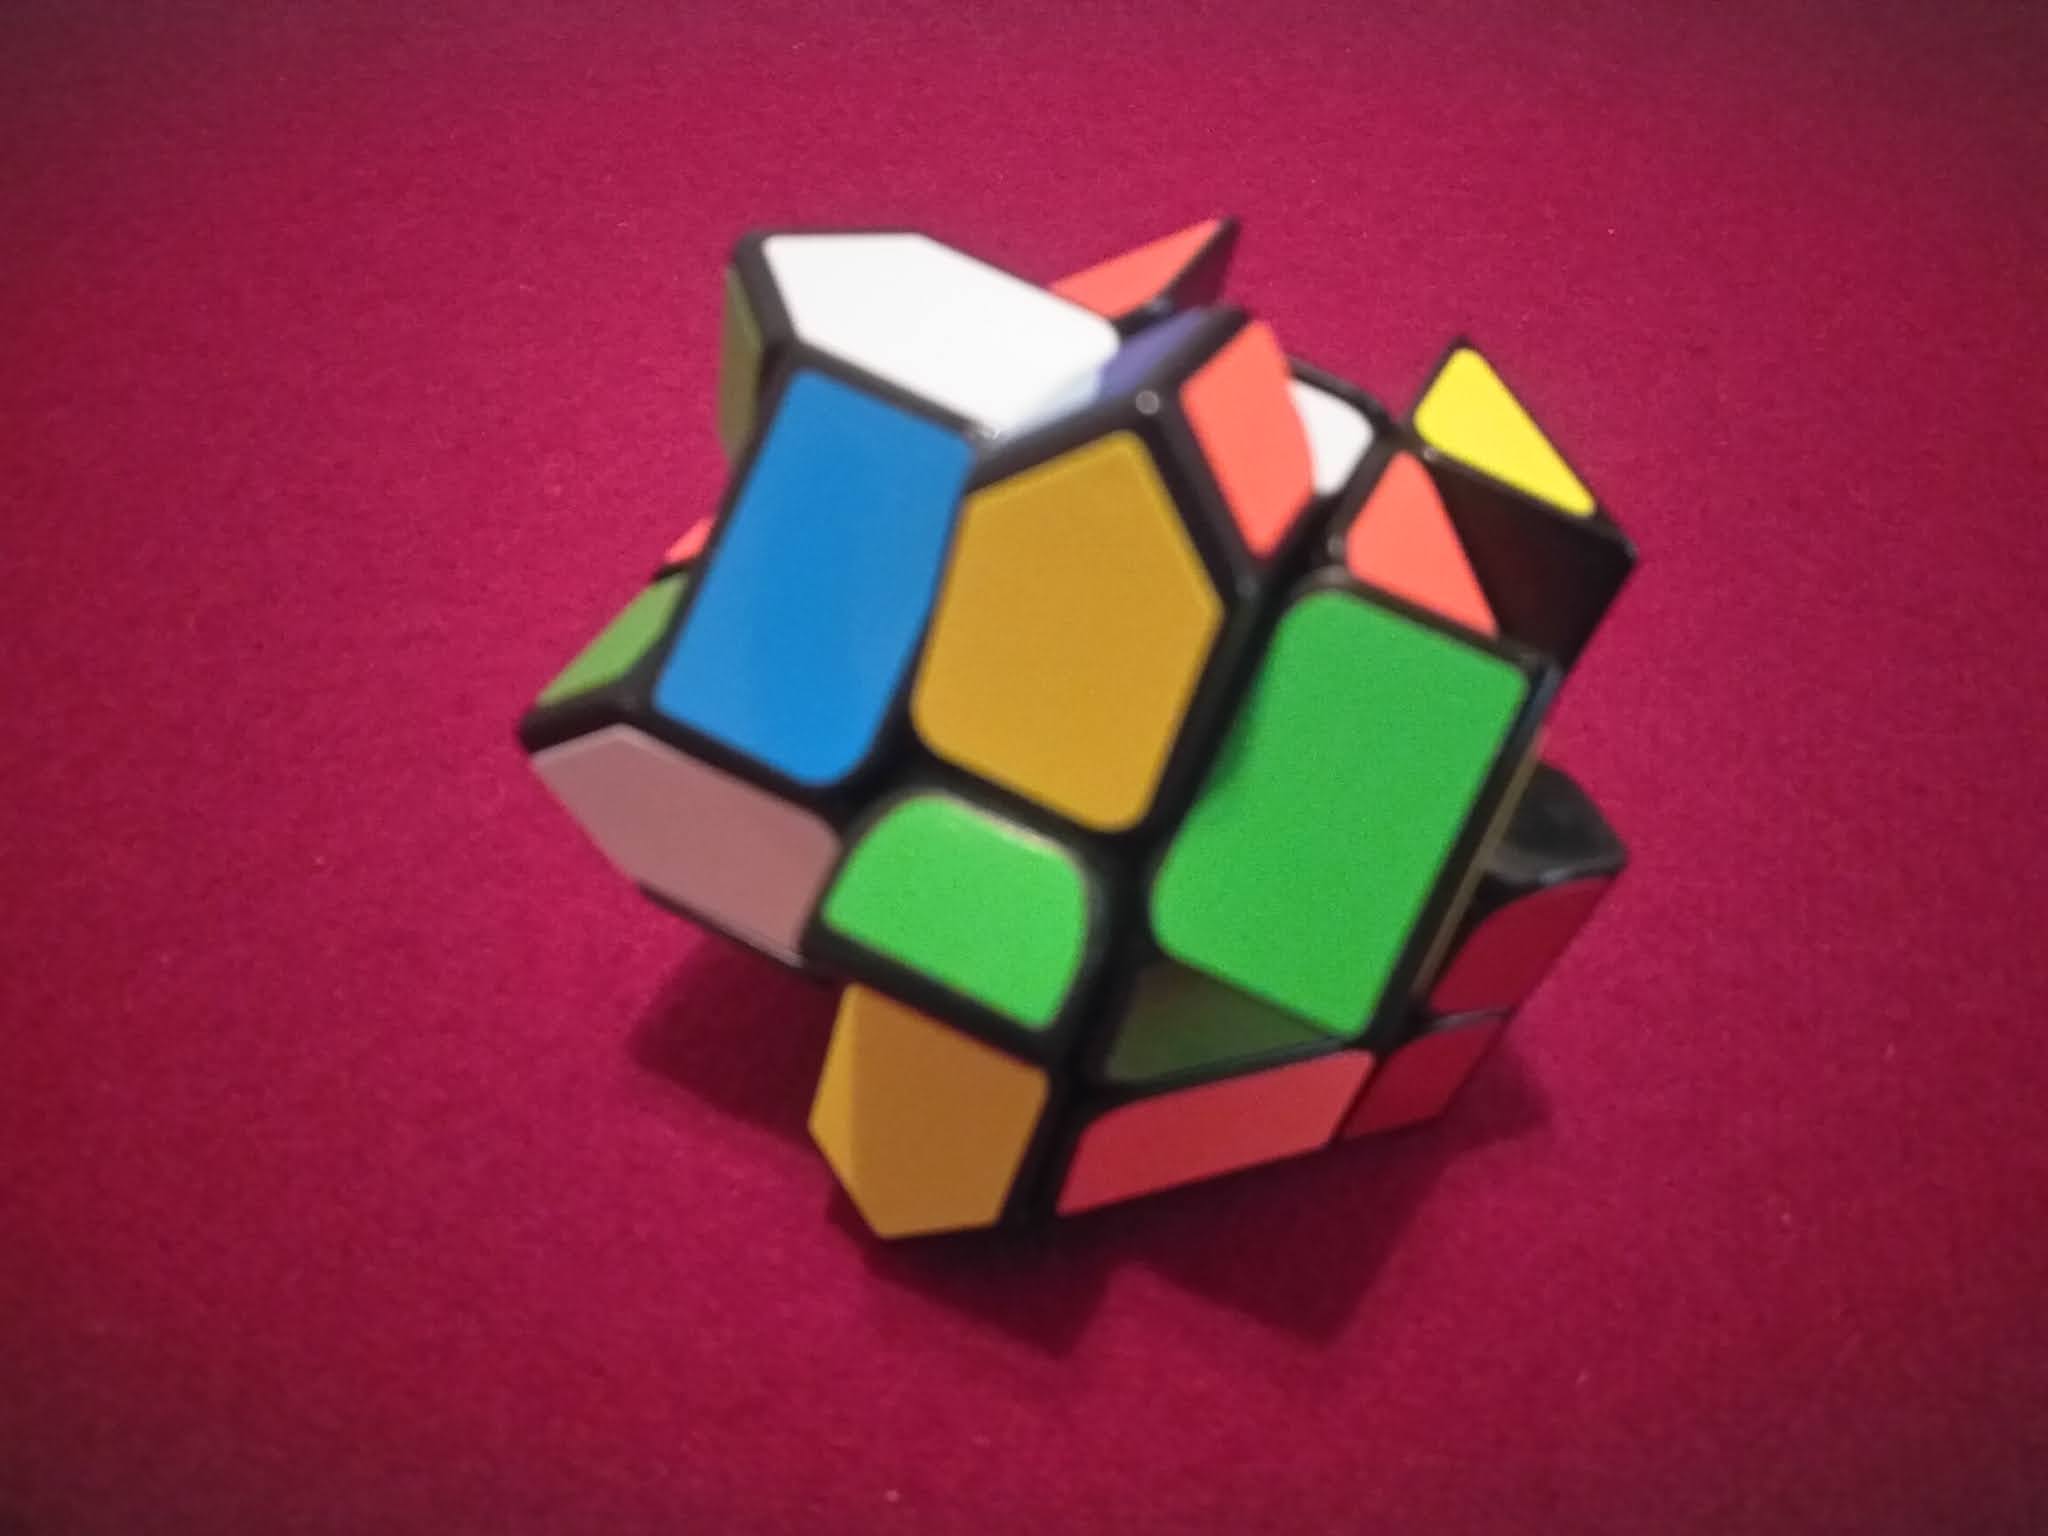
The Hellraiser cube is an evil puzzle. At first glance, it looks like opposite faces look the same but there are subtle differences.

I took the precaution of photographing each face, so that I could ensure that I solved to look exactly as it looked when I first removed it from the packaging.


When solving this puzzle, I use the layer method. I solve the pieces as normal, check them against the photographs and swap the ones that are not exactly correct to ensure I return the puzzle to the exact same configuration as when I first removed from the packaging, the lament configuration.


Not I puzzle I play with a lot, but it is a nice one to have in the collection.

Katsuhiko Okamoto's Latch Cube

Latch Cube

The Latch Cube, invented by Katsuhiko Okamoto, is a variant of a normal 3x3x3 cube where some pieces can only be turned in one direction. Edges with black arrows can only be turned anticlockwise and edges with white arrows can only be turned clockwise. A face that has both black and white arrows is locked, thus bandaging that face.

Turning, unsurprisingly, was not the best but this was improved with some lubrication.

The colour scheme is non-standard. I suspect it was altered to facilitate the contrast of the black and white arrows against the colours. This may upset some people, but it is not a speed solve puzzle, so it should not be an issue.


The mechanism that hinders the cube is simple. The catches can be seen in the photo below and affect the F- and B-faces.


Solution

This is not an easy puzzle to solve. The latching prevents some algorithms from working while others must be adapted such that, say, R' might have to replaced with R3.

Scrambling the cube is not trivial: it is all too easy to lock up a face. 


Step 1: Cross

I think it is slightly easier to solve the arrowed pieces first, but I am not sure. Even so, it is not straight forward. Getting this far feels like a minor achievement.


Step 2: E-Layer Edges

Getting these four edge pieces into place is far from trivial. Black and white arrows cause bandaging everywhere and edge pieces will have to be moved out of the way to free up faces. If possible, I try to rotate the edges on the final layer but this is not always feasible.


Step 3: Final Layer Edges

If the pieces are rotated correctly, then this is relatively straight forward. If not, it is trickier, especially if there are black and white arrows on the final layer face.


Once the puzzle is in this state, while still not straightforward, it does become a bit easier. The direction of the arrows on each face are solved. While the puzzle is still not trivial, at least there is now some order. Figuring out modified algorithms for the corners is not as difficult as the edges. 

Step 5: Permutate the Corners

This is not as difficult as it looks, provided you can consistently perform a three-quarter turn instead of a quarter turn against the direction of the arrows without getting confused.


Step 6: Orientate the Corners

Like the previous step, this is not as difficult as it appears. Using the beginner method algorithm works if you can substitute three-quarter turns where needed.


This is a challenging, at times frustrating but satisfying puzzle to solve.

14 December 2020

Shepherd Cube

Shepherd Cube

The Shepherd Cube was originally created by Alistair Shepherd with hearts. The current design uses is arrows. It is the ultimate orientation cube, the solved state having arrows all pointed in the same direction on each face.

Shepherd Cubes available for sale are rare, but the stickers are readily available and will be sold by your preferred supplier of custom stickers.

The secret to the puzzle is that one corner has the arrows circling in a clockwise direction...


...the diametrically opposed corner has the arrows circling anti-clockwise.


The consequence of this is that opposite faces have arrows pointing in opposite directions. Knowing this lays the foundation to a solution. These two corners are referred to as "starting corners" in the solution, below.


Solution

This is a challenging puzzle to solve but not as difficult as I anticipated. You do need good spacial awareness to work out where the arrows need to point, and a good understanding of how parity odd-cases can arise and how to deal with them.

Scrambled Shepherd Cube

Step 1: Find a Starting Corner and Orientate the Centres

Find one of the corners where the arrows circle either clockwise or anti-clockwise. This is the starting point and acts as the initial reference point for the next part of the solve.


Step 2: Solve the Edges Adjacent to the Starter Corner

The most difficult aspect of this is finding the correct pieces.

There is now a 2x2x2 solved section.

Step 3: Extend the Solved 2x2x2 Block to a 2x2x3 Block

I prefer to solve the corner first and then add the edges. There are three directions in which to extend. There is a chance that might deliver the right corner in one of the cases.


Step 4: Complete the First Two Layers

There are two directions left into which to expand the solved section. Serendipity is less likely to deliver an easy start to this step.


Step 5: Solve Final Layer Corners

The first corner is the starting corner. The others follow from that one. There is a 50% chance of an parity odd case that needs to be resolved.

Step 6: Solve Final Edges

Finally, solve the edges. It is possible to encounter a parity odd case due to edges being the same.


Parity Odd Cases

Odd parity cases are possible. The centres may be misaligned by a quarter turn, similar to the Void Cube. There are also some edges that are interchangeable. The two starting corners have no orientation, therefore, it is possible to have one cornered rotated out of position.

03 December 2020

Science not Pseudoscience: Relative Density Disequilibium and Gravity

Falling

The concept of flat-Earth has a major problem that its proponents must overcome: the fact that things fall. We have given this phenomenon the name of gravity. At its most basic level of understanding a smaller object is drawn towards the centre of mass of a larger object. This clearly cannot be the case for a flat Earth.

Undaunted, the flat-Earth community came up with an alternative explanation for falling: relative density disequilibrium. An object, when in a medium of a different density, experiences a force that drives it to find its density equilibrium. I have yet to find someone who can explain the source of the energy differential responsible for this force. I have found no equations that describe this phenomenon.

I have seen flerfs cite buoyancy to explain the behaviour of objects in different media. Unfortunately for the density disequilibrium proponents, buoyancy is a gravitational effect. If you deny a constant downward acceleration, you automagically deny buoyancy, too. More on this later.

Even without mathematics, we can use these two explanations to make predictions. This allows us to perform experiments to find out which one is the better description of our reality.

Relative Density versus Gravity

There are many ways that we can test gravity versus density disequilibrium. First a quick summary of the histories of these two concepts.

Gravity

Johannes Kepler figured out the laws of planetary motion. These were early steps towards our understanding of gravity and how it affects the orbits of astronomical bodies.

Isaac Newton came up with an equation that described, in most cases, how bodies behaved under the influence of gravity. However, he had no idea what caused gravity. He was particularly troubled by the action at a distance.

Einstein realised that gravity is space-time curvature. His equations are much more complicated than Newton's but Newton's equation is a good enough approximation in most circumstances. 

The picture is still not complete because quantum mechanics is absent from our description of gravity.

Relative Density Disequilibrium

The history of density disequilibrium is not documented. I was unable to discover whom I should credit with its origination.

Falsifying the Hypotheses

Buoyancy versus Finding Equilibrium

Buoyancy is a consequence of the acceleration due to gravity. Put an object into a fluid and it displaces that fluid. If the weight of the fluid displaced is less than the object then the buoyant force is greater than the weight and the object floats (e.g. ships on water) or is displaced upwards (e.g. helium balloons).

Strictly speaking, there is no buoyancy with relative density disequilibrium. There is only equilibrium and disequilibrium. Once an object has found its density in an environment, there are no forces acting upon it. There is no downward acceleration and no buoyant force.

The Test: place an object, less dense than water, in water. 

  • If gravity is correct, the object will sink into water until a weight of water is displaced equal to the weight of the object
  • If relative density disequilibrium is correct, the object sits will sit on top of the water.

Pressure

Imagine a quantity of a fluid of constant temperature, such that there are no density variations and it is in thermal equilibrium. A consequence of the acceleration due to gravity is that the weight of fluid higher up presses down on the fluid lower down. This results in a pressure gradient. Higher pressure at the bottom, lower pressure at the top.

With relative density disequilibrium, the fluid at the top is in density equilibrium with the fluid at the bottom, therefore, there are no forces acting on it. There is no pressure gradient.

The Test: create a long tube with holes placed at regular intervals along its length. Stand the tube vertically and fill with water.

  • If gravity is correct, the water shooting out of the lower holes will be under higher pressure than the higher ones and, consequently, will shoot out at a higher speed. The water from the lower holes will project farther than the higher ones.
  • If relative density disequilibrium is correct, there is no pressure gradient the water will come out at the same speed from each hole. The trajectories of the ejected water will all look the same until the level of the water in the tube reaches the holes.

Another Test: the atmosphere is a fluid mixture of different gases.

  • If gravity is correct, we will observe a pressure gradient. Higher altitudes will have lower pressures than lower ones. There will be no definite boundary with the vacuum of space but a gradual reduction to the pressure of gas in the Solar System.
  • If relative density disequilibrium is correct, then the only pressure gradient we shall observe is due to hot air rising. There will be a definite boundary with space (assuming no container). Air molecules will feel a force that will try to arrange them by density. Denser gases will tend accumulate at lower altitudes when weather conditions are not mixing them.

I find it both interesting and ironic that many flerfs claim it impossible to have a boundary between gas pressure and a vacuum without a physical barrier, yet their model predicts one.

I have not done the mathematics but molecules intrinsically seeking to arrange themselves by density does seem to violate the Second Law of Thermodynamics. If this is the case, then that is truly ironic.

Density and Weight

The weight of an object, according to gravity, is its mass multiplied by acceleration. It is as simple as that. For an objects apparent weight, it is necessary to take into consideration the buoyant force acting on it as well.

I have not seen any mathematics relating to weight and relative density disequilibrium. I don't know how weight is calculated in this model. If anyone knows, please let me know. What I do know is that the disequilibrium force is proportional to density as well as mass.

The Test: find an easily compressible material. Put equal amounts of this material on a balance. We know we have the same weight on either side. Compress the material on one side, thereby, increasing its density.

  • If acceleration due to gravity is correct, the only property that affects the weight is mass. After compressing one, the two samples of material retain the same weight and remain balanced.
  • If relative density disequilibrium is correct, not only mass but also density affects weight. The compressed sample will weigh more and the balance tips on this side. 

Free-Fall

An object that is falling, according to the Theory of General Relativity, does not feel gravity and has no weight. This same object is still in a state of relative density disequilibrium.

The Test: take two immiscible liquids, say oil and water. Water added to oil sinks to the bottom. Oil added to water sits on top. Shake oil and water and it separates back into the two layers. But what about in free-fall?

  • If acceleration due to gravity is correct, the oil and water have no weight and will not reform into two layers.
  • If relative density disequilibrium is correct, the oil and water will seek their density equilibrium and separate into two layers.

23 November 2020

Axis Cube

Axis Cube

The Fisher and Windmill cubes don't offer a significantly higher challenge to a person proficient in solving a standard 3x3x3. The only additional aspect is controlling the orientations of the pieces that behave like centres.

The Axis Cube, also known as the Axel Cube, is a significant step up in difficulty. It is still based in the 3x3x3 mechanism but the shape modification makes the puzzle confusing, especially when picking the puzzle up for the first time. Familiarity should be gained with the workings of the puzzle; that is knowing which pieces behave like edges, corners and centres, and understanding what corresponds to a face on a normal cube. Once this hurdle is crossed, it should be easier to solve.


The way the pieces are cut means that a equivalent to a face, as we understand it from a regular cube, is not one colour and not a side of the cube. The picture below shows a "face" rotated by 180°.


Solution

The puzzle shape shifts into a chaotic jumble when scrambled. It can be confusing when figuring out which pieces behave like corners, edges and centres, and how they go together during a solve.


Step 1: Cross

Intuitive step but care needs to be taken to ensure that the centres on the E-layer are orientated correctly as the edges of the cross are put into place.


Step 2: First Two Layers (F2L)

Normal F2L and block building techniques work here as one might expect. Recognition will be an issue at first until familiarity is built up with the shaped pieces.


Step 3: Edges Last Layer

At this point, I see which is easier to solve first, edges or corners. If there is no advantage either way I go for corners. During the solve when I was photographing for it this post, I decided to go with edges, because that was easier.

Step 4: Solve the Corners

Next solve the corners.


Step 5: Orientate Last Layer Centre

The way I solve this puzzle, sometimes leaves the final centre rotated by 180°. So there might be one final step to finish off the solve.


16 November 2020

Windmill Cube

Windmill Cube

After the Fisher cube, the next shape modification I got was the Windmill Cube, also known as the Fenghuolin cube. I call it the Windmill Cube as I am don't know the correct pronunciation of "Fenghuolin".

It is called a Windmill cube because it is possible to create this windmill pattern...

Windmill pattern on windmill cube

I think this is a better puzzle than the Fisher Cube because the edges on the equatorial layer must be orientated correctly during the solve. This does eliminate the possibility of an odd-parity case when orientating the edges on the final layer.


Solution

Solving this puzzle is not difficult for anyone who can solve a standard 3x3x3. The only additional complication, except for solving some edges by shape rather than colour, is the orientation of the centres on the equatorial layer.

The scrambled puzzle shape shifts.


Step 1: Cross

Solve the white edges. Intuitive


Step 2: First Two Layers (F2L)

Normal F2L and block building techniques work here. The only difference is that the edges are solved by shape rather than by colour. It is not difficult once you are used to it.


Step 3: Orientate Yellow Edges

I orientate the final layer edges at this point, to make the puzzle easier to handle for the rest of the solve.


Step 4: Solve Final Layer Corners

Care needs to be taken to avoid rotating the centres on the equatorial layer.


Step 5: Permute Yellow Edges

Again, care needs to be taken to avoid rotating the centres on the equatorial layer.


And there it is solved.


07 November 2020

Fisher Cube

Fisher Cube

The Fisher cube was created by Tony Fisher in the 1980s. If this was not the first shape modification of the cube, it was one of the first. It is not a bad first puzzle to try, if you want to play with something a little different from a standard 3x3x3.

On the U- and D-faces the corners behave like edges and vice versa. On the E-layer, the edges behave like centres and vice versa


Solving the Fisher Cube

Solving a Fisher Cube is not a whole lot different from solving a normal cube. After getting used to the configuration the only additional complication is ensuring the pieces that behave like centres are orientated correctly.

When scrambled, the puzzle shape shifts into a chaotic shape.

Step 1: White Cross

Intuitive. The trick here is to align the pieces that behave like centres on the E-layer.


Step 2: First Two Layers (F2L)

Normal F2L techniques work here. If anything it is slightly easier than on a standard 3x3x3 because the pieces that behave like edges on the E-layer have no orientation.


Step 3: Orientate Yellow Edges

I this stage I orientate the final layer-edges. I leave permuting them until later. I find the puzzle easier to handle with the edges facing the right way.


 There is the additional complication of a possible odd case parity where there could be one or three of the edges rotated. This is very easy to fix: just orientate one of them with an E-layer edge.

Step 4: Solve Corners 

I then do things the old fashioned way of permuting the corners first, before rotating them. I don't know which advanced algorithms affect the centres on the E-layer and which don't. I should much rather keep things simple and use basic algorithms that I know are super cube safe.


Step 5: Permute Edges

The trick here is do this without rotating the pieces that behave like edges on the E-layer. I do it using Sune algorithms.